A stucco repair kit is a narrow patching option, not a cure for every crack or hole. It may suit a small, stable surface defect. It won’t diagnose moisture, movement, loose material, or failed lath behind the finish.
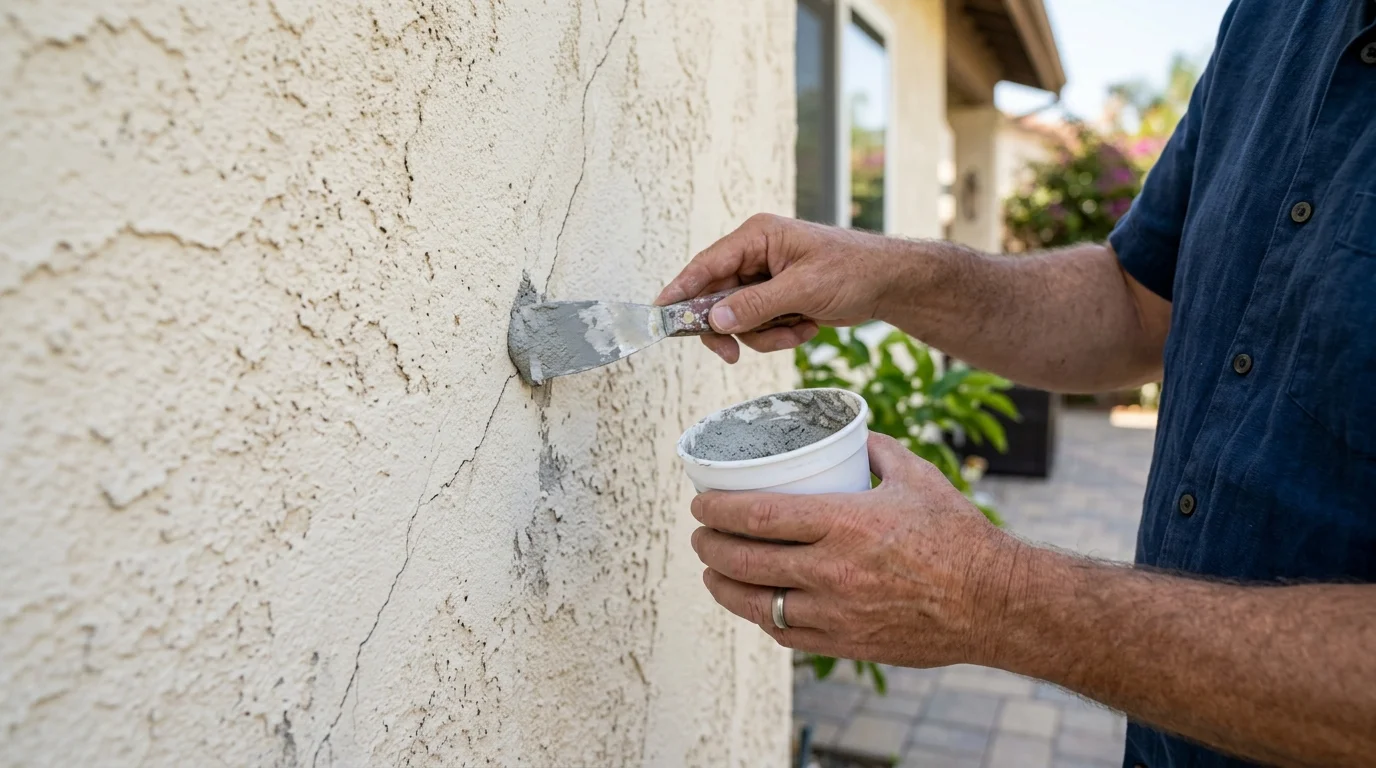
What is actually in a consumer stucco repair kit
“Kit” can describe several very different products. One package may contain a ready-mixed filler. Another may hold dry material that requires mixing. Some products include a small applicator, while others provide only the patching compound.
Read the complete label before buying. Look for the listed wall type, approved defect size, preparation steps, application limits, and finish instructions. Don’t assume a package marked “stucco repair” matches every stucco assembly.
The most useful kits give clear directions for cleaning the area and applying the material. They should also explain whether the product accepts paint or another finish. If those details aren’t available, the manufacturer or retailer is the right source for confirmation.
A kit usually addresses the visible opening. It doesn’t tell you why that opening developed. That distinction matters across San Diego County, from coastal North County to the South Bay and East County. Similar-looking cracks can require different repairs once loose material or concealed damage is found.
For a closer look at professional stucco patching, compare the repair area with the surrounding wall before choosing a package.
The three defect sizes and which ones a kit can genuinely handle
Sort the damage into three practical groups: a fine surface line, a small isolated loss, or a larger damaged area. This is a decision framework, not a measurement standard. The product label still controls where that particular kit belongs.
A fine line may be a candidate for a crack-filling product if the surrounding finish is firm. Watch the crack before covering it. Reopening, widening, or a repeating pattern calls for more investigation.
A small chip or shallow void may fit a patching compound. Press gently around the edges first. Material that shifts, sounds hollow, or breaks away suggests the visible opening isn’t the whole problem. Don’t keep widening the area unless you understand the wall assembly underneath.
A broad missing section isn’t a sensible kit repair. Larger areas demand attention to the base, edges, texture, and finish across the entire patch. A small container can’t replace that evaluation.
Our guide to hairline and structural stucco cracks explains the warning signs in more detail. If the defect extends beyond a simple surface blemish, ask a licensed contractor to inspect it.
Hairline crack fillers versus patching compound versus full three-coat material
These product types solve different problems. A crack filler is meant for a narrow opening within the limits printed on its label. It isn’t automatically suitable for a missing chunk or an area with loose edges.
Patching compound adds material to an isolated void. It can restore the face of a small damaged spot when the surrounding stucco remains sound. The final result still depends on edge preparation, application depth, texture, and finishing.
Material intended for a full stucco assembly belongs to a different scope. Rebuilding a damaged section may involve layers and concealed components that a surface kit doesn’t address. Don’t treat a bag of mix as proof that the entire wall can be repaired from the outside.
Avoid choosing by package size alone. Start with the defect and the wall type. Then compare that need with the product’s stated use. If the instructions don’t identify your application, contact the manufacturer before applying it.
For cracks that need more than a cosmetic fill, see our stucco crack repair service.
Why kit repairs often read as a visible smear from the street
A filled crack can stop looking like a crack yet remain obvious. The patch may sit above the wall, bridge across texture, or leave a smooth strip through a rough finish. From the sidewalk, that change can catch light differently than the surrounding surface.
Wide application is a common source of the smeared look. Covering more wall doesn’t necessarily hide the repair. It can create a larger area that needs texture and color correction.
Clean edges usually matter more than extra material. Keep the work within the product’s stated limits. Don’t spread filler across sound finish just to empty the tube or feather the patch without a finish plan.
View the area from several angles before it fully sets, but follow the label’s timing instructions. A repair that looks flat from arm’s length may stand out from the driveway.
If appearance matters across a prominent wall, compare patching with recoating before committing to a small surface repair.
Texture: the part kits almost never solve
Filling the opening is only part of the job. The repaired area also needs to relate to the surrounding texture. A smooth patch inside a rough field remains visible even when the opening has disappeared.
Texture names alone aren’t enough. Two walls described with the same finish can still have different peaks, spacing, direction, and hand-applied variation. The existing wall is the reference.
Study the area outside the damage. Notice whether the finish has fine grains, broad sweeps, flattened high points, or irregular marks. Then check whether the kit provides any compatible finishing method. Don’t improvise with a household sponge or brush on a prominent wall unless you’ve tested the result somewhere inconspicuous.
A licensed stucco contractor can judge whether a localized blend is realistic. In some cases, carrying the finish across a larger boundary produces a less distracting result. Our San Diego texture-matching guide shows why the transition matters as much as the filled area.
Color: why patched stucco does not match, kit or not
A color name on a package isn’t a promise of an invisible match. The surrounding wall already has its own shade, surface profile, and finish history. Fresh patch material can read lighter, darker, warmer, or cooler beside it.
Texture also changes the way color appears. A smooth repair reflects light differently than an uneven finish. Adding paint before resolving the texture won’t necessarily hide that contrast.
Don’t judge a packaged color through the container alone. Follow the manufacturer’s instructions and test where a mismatch won’t dominate the elevation. If another coating will cover the repair, confirm that the patch product accepts it.
A broad paint touch-up can create a second outline around the original repair. This is especially noticeable when the wall has no natural stopping point nearby. Corners, trim lines, and changes in elevation may provide better finish boundaries.
When a local patch can’t blend, a wider finish treatment may make more sense. Read our comparison of stucco color coat and paint before choosing the next layer.
Acrylic versus cementitious kit products and where each belongs
Acrylic-labeled fillers and cementitious patch products aren’t interchangeable. Their package directions may call for different preparation, application, finishing, and coating steps. Let the stated use guide the choice.
First identify the existing wall system as accurately as possible. Traditional stucco and synthetic exterior systems shouldn’t be treated as the same surface. If you can’t identify the assembly, stop before applying a product that may be difficult to remove.
Next, read the substrate list. Confirm that the label names the material you’re repairing. Check whether it limits the width, depth, exposure, or coating placed over the patch. Those limits vary by product, so a universal figure can’t be confirmed here.
Don’t combine products from separate systems unless their manufacturers approve that application. A filler, primer, finish, and paint may each have compatibility instructions.
For background on common wall systems, compare EIFS and traditional stucco. Product support from the manufacturer is the safest source when a label leaves a compatibility question unanswered.
The failure mode: sealing water in instead of out
A crack or blister may be a symptom rather than the starting problem. Covering the surface can hide the opening while leaving the source untouched. That’s a poor trade when moisture is entering from another location or damaged material sits behind the finish.
Pause if you see staining, recurring discoloration, soft edges, swelling, corrosion marks, or a musty interior area near the damage. Those signs don’t identify one cause by themselves. They do justify inspection before a cosmetic patch.
Look above and around the defect. Openings near windows, roof intersections, penetrations, and wall transitions deserve careful attention. Don’t assume the visible crack is where water first entered.
A kit label can explain how to apply its product. It can’t evaluate the concealed wall. If moisture is suspected, a licensed contractor should determine the repair scope. Our guide to coastal stucco moisture damage covers what to document before the inspection.
What a kit costs you if the underlying cause is moisture or lath failure
The purchase price is only one part of the decision. No reliable universal kit price or repair total can be confirmed. Retailers set product prices, and contractors quote work after reviewing the wall.
The bigger risk is covering useful evidence. A fresh patch may hide the crack pattern, loose boundary, or staining that helped show what was happening. Photograph the area before applying anything. Include close views and wider shots showing nearby openings and transitions.
Repeated patching also creates more finish to remove later. Each layer can widen the visible repair without addressing movement, moisture, or failed support behind the surface.
If the stucco moves when pressed, pieces detach, or damage returns, stop treating it as a filler problem. A contractor may need to inspect the lath and surrounding assembly. That work is outside the purpose of a small consumer kit.
Don’t rely on a patch to protect a wall when the cause remains unknown. The least expensive-looking option can become wasted material and time when the same defect returns.
How to decide between a kit and a licensed pro
Choose a kit only when the damage appears isolated, the surrounding surface is firm, and the product label clearly covers that application. You also need to accept that texture and color may remain visible.
Call a licensed pro when the area is loose, hollow, wet, recurring, or spread across a larger section. Professional review also makes sense around windows, penetrations, wall transitions, and other details where a surface patch may conceal the real path of damage.
California classifies stucco work under the C-35 lathing and plastering trade. Check a contractor through the official CSLB license search, not a third-party directory.
California’s minor-work exemption is narrow. Effective January 1, 2026, the aggregate contract price must be less than $1,000, the work must be casual or minor, and no building permit can be required. A job can’t be split into smaller contracts to avoid licensing. Anyone advertising as a contractor also loses that exemption at any price.
Permit needs depend on the property and repair scope. Confirm them with the city or county that issues permits where you live.
When to call us
Bring in a licensed stucco pro when damage returns, feels loose, shows moisture, or extends beyond a small surface defect. Stucco Pro SD performs no physical work. We connect San Diego County homeowners with licensed, independent local contractors.
Call us at (858) 400-4352 and we’ll connect you with a licensed local stucco contractor.