The crew has packed up, but the final inspection still matters. A useful stucco repair before and after comparison checks texture, edges, nearby details, cleanup, and the original cause. Look from several positions before deciding whether the patch blends with the wall.
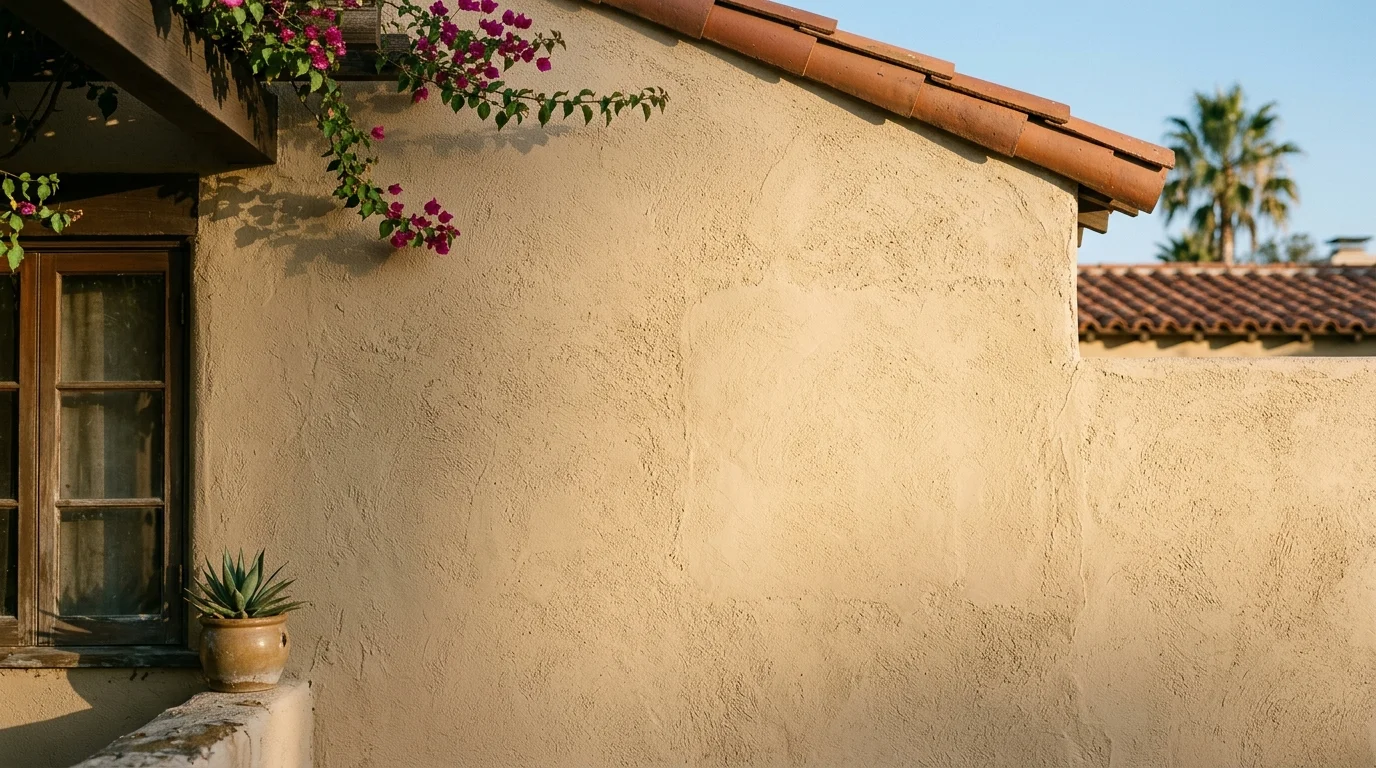
Judge it in raking light, not head on
Start from the same position where you normally see the wall. That might be the driveway, patio, sidewalk, or front entry. A repair that disappears from three feet away but stands out from the curb still deserves attention.
Next, move sideways until light travels across the wall. This low-angle view is often called raking light. It makes raised areas, shallow spots, and texture changes easier to see. Inspect the repair in direct light and shade if both reach that elevation.
Don’t judge from only one distance. Step back to see the whole wall, then move closer. From a distance, look for a patch-shaped shadow or an area that catches light differently. Up close, check whether the surface pattern continues across the repair boundary.
Photos help, but cameras can change exposure and color. Take wide and close photos from consistent positions. If you photographed the damaged area before work began, compare the surrounding landmarks. Windows, trim, vents, and wall corners can help you align both images.
A visible repair isn’t automatically defective. The important question is what the contractor promised and what the finished wall shows. Record concerns while the site and agreement are still fresh.
Texture continuity across the boundary
Texture matching is more than choosing a familiar finish name. Look at the size, spacing, direction, and depth of the marks. The repaired area should relate naturally to the wall around it.
Trace the repair boundary with your eyes. The texture shouldn’t abruptly become busier, flatter, heavier, or more orderly at that line. Pay special attention to the upper edge. Shadows there can make a change more noticeable.
San Diego County homes carry many different exterior finishes. Don’t compare your wall with a photo from another property. Compare the patch with the original surface immediately beside it.
Texture can also vary across one elevation. The area near a corner may not look identical to the broad center of the wall. A contractor should match the specific work area, not a convenient sample elsewhere.
Our texture matching service explains how homeowners can connect with a licensed local pro for this work. You can also review our guide to stucco texture matching in San Diego before discussing a visible mismatch.
When raising a concern, name the exact difference. “The repaired area has wider grooves than the surrounding wall” is more useful than “it looks wrong.” Add a photo taken in raking light.
Where the crew chose to end the patch and why that matters
Every patch has an endpoint. Sometimes it follows a corner, trim board, opening, or another existing visual break. Sometimes it ends within a broad wall field. That choice affects how easily your eye finds the repair.
Stand back and identify the patch shape. A small isolated rectangle can remain visible even when its texture is close. A repair ending at a natural break may be less noticeable because the transition already belongs there.
Don’t assume that a larger patch would have been better. The proper repair area depends on the damaged section and the contractor’s plan. Ask why the boundaries were selected and whether those boundaries match the written scope.
Check every endpoint, not only the most visible edge. Look above and below the patch. Walk around a nearby corner when access is safe. The repair may continue farther than it appears from the first viewing position.
If the finished area differs from the agreed scope, point that out promptly. Use the proposal, change orders, and before photos to keep the discussion specific. The question isn’t whether another crew might have chosen a different boundary. It’s whether this repair follows the documented plan and presents a consistent transition.
Color on day one versus color in three months
Day-one color deserves documentation, but it shouldn’t be your only checkpoint. Ask the contractor whether the installed finish is expected to change in appearance. Get the expected review point and any care instructions in writing.
Take photographs before moving planters, furniture, or other nearby objects. Use the same viewing angle for later comparisons. Avoid judging from one phone image because automatic camera settings can make neighboring areas appear lighter or darker.
Inspect the wall itself under similar conditions. A patch photographed in shade shouldn’t be compared with a later image taken in direct sunlight. Wet or dirty surroundings can also confuse a visual comparison.
Mark a calendar reminder for three months. At that point, compare the repair with your original photographs and the contractor’s written guidance. Look at the complete elevation before focusing on a small tonal shift.
Don’t accept a vague promise that every difference will disappear. The contractor should explain what you’re being asked to watch and when to raise it again. If the color difference remains prominent at the agreed review point, send current photos and request a written response.
Edges, feathering and the halo effect
A halo is a visible band around the repaired area. It may appear lighter, darker, smoother, rougher, raised, or recessed. Raking light usually makes that outline easier to locate.
Follow the entire perimeter slowly. Don’t focus only on the center, where the new texture may look convincing. Many before-and-after differences appear where the repair meets the original surface.
A transition inside an open wall field should look deliberate. If the patch ends against trim or a corner, a defined line may fit that boundary. Judge the edge in context rather than applying one rule everywhere.
Use a photo to show the contractor exactly where the halo appears. Include a wide shot for location and a close shot for detail. A pencil, coin, or removable note placed near the concern can help identify the spot, but don’t attach anything that could mark the finish.
Avoid scraping, sanding, painting, or coating the edge before the contractor responds. Changing the surface can make the original concern harder to evaluate. Keep the repair as delivered while you document the issue.
Penetrations, trim and the details around the repair
The center of a patch gets attention. Problems are easier to miss around lights, vents, pipes, cables, trim, and mounted fixtures.
Compare these details with your before photos. Confirm that items removed for access were returned as agreed. Look for new chips, smears, gaps, or texture covering a finished surface. Check window and door trim without forcing or removing anything.
Inspect the lower edge near paving, soil, and landscaping. Then look at the upper boundary from a safe position on the ground. Don’t climb onto a roof or improvise access for a close photograph. Ask the contractor for documentation when an area can’t be viewed safely.
If the repair surrounds a wall penetration, ask what work was completed there. Don’t assume a visible surface treatment addressed conditions behind the finish. The contractor should explain the scope in plain language and record any excluded work.
Keep the discussion tied to observable details. “There’s beige residue on the black fixture” is clear. “The entire installation failed” isn’t supported by that observation alone. Specific notes make a final walkthrough more productive.
What was done about the cause, not just the symptom
A clean patch can hide the original mark without explaining why it appeared. Before approving the work, revisit the starting problem. Was it a crack, impact, stain, opening, loose area, or another condition?
Ask the contractor to describe the cause they found, the repair performed, and any limits on that conclusion. If no cause was confirmed, the paperwork should say so. A confident guess isn’t the same as a documented finding.
Match the answer to the agreed work. A stucco patching project may have a narrow scope. Don’t assume it included investigation or work outside the written proposal. Likewise, don’t accept added claims that never appear in the final records.
Take an after photo from the exact position used before work. Keep both images with the proposal and invoice. If the same visible symptom returns, that timeline gives a licensed contractor better information.
Conditions involving possible moisture, movement, or concealed damage need direct evaluation by the contractor. Stucco Pro SD doesn’t diagnose or perform the physical work. We connect homeowners with licensed, independent local pros who can inspect the property and define an appropriate scope.
Clean-up, overspray and the ground below the work
Walk the work area before vehicles, trash containers, or protective coverings leave. Check windows, screens, doors, trim, paving, plants, outdoor furniture, and nearby fixtures.
Look down as carefully as you look at the wall. Small chips and dried splatter can blend into gravel, mulch, or textured paving. View glass from an angle because residue may be hard to see head on.
Check beyond the immediate patch. Surface preparation and application can involve a wider work zone than the finished repair. Follow the route between the wall and the crew’s staging area without entering restricted spaces.
Photograph anything that differs from the pre-work condition. Use a wide image to show location, then a close image to show detail. Don’t attempt a cleanup method that could damage the affected surface. Ask the contractor how they propose to address it.
The final site should match the cleanup terms in your agreement. If those terms are unclear, list each remaining item in writing. A short, precise punch list is easier to resolve than a general complaint about the property.
Documentation you should have been given
Keep the signed agreement, approved changes, invoice, payment records, and before-and-after photographs together. You should also retain any product names, color references, texture notes, care directions, and contractor-provided warranty terms.
Only the contractor can define a warranty for their work. Stucco Pro SD doesn’t perform repairs or issue workmanship warranties. If a contractor offers one, get its exact scope, exclusions, and process in writing.
The final paperwork should identify what was repaired. It should also distinguish completed work from recommended future work. Ask for clarification when a verbal explanation doesn’t match the document.
Confirm the contractor’s license through the official California Contractors State License Board lookup. Search the business information supplied by the contractor and review the current record directly.
Save the documents where another household member can find them. File names should include the property, repair location, and date. “South wall repair after photo” will be more useful later than an unnamed image.
Good records don’t prove that every hidden condition was addressed. They show what was observed, promised, completed, and left for monitoring.
What to raise now versus what to wait and watch
Raise visible damage, missing work, residue, uncovered items, or a clear scope difference promptly. Photograph each concern before the area changes. Send one written list that identifies the wall, location, and issue.
A strong texture or color boundary should also be documented now. You can still follow the contractor’s written guidance about when to review it again. Reporting the concern preserves the day-one condition without declaring the final outcome early.
Wait only when the contractor gives a clear reason and a defined review point. Ask what change they expect, what you should avoid doing, and what happens if the concern remains. Don’t rely on an open-ended request to “give it time.”
Watch the original repair area and the nearby wall. Use consistent photographs rather than memory. If a crack, stain, separation, or other symptom appears, record the date and contact the contractor.
Your punch list should separate immediate corrections from monitored items. That keeps small cleanup concerns from getting mixed with questions about the repair itself. It also gives everyone a shared record of what remains open.
When to call us
Call when a stucco repair needs diagnosis, patch planning, or a professional review of visible problems. Call us at (858) 400-4352 and we’ll connect you with a licensed local stucco contractor.