An uneven stucco color coat can appear blotchy, striped, or divided into lighter and darker areas. Before approving a correction, document what you see and ask the contractor to identify the finish, surface conditions, and applicable product instructions.
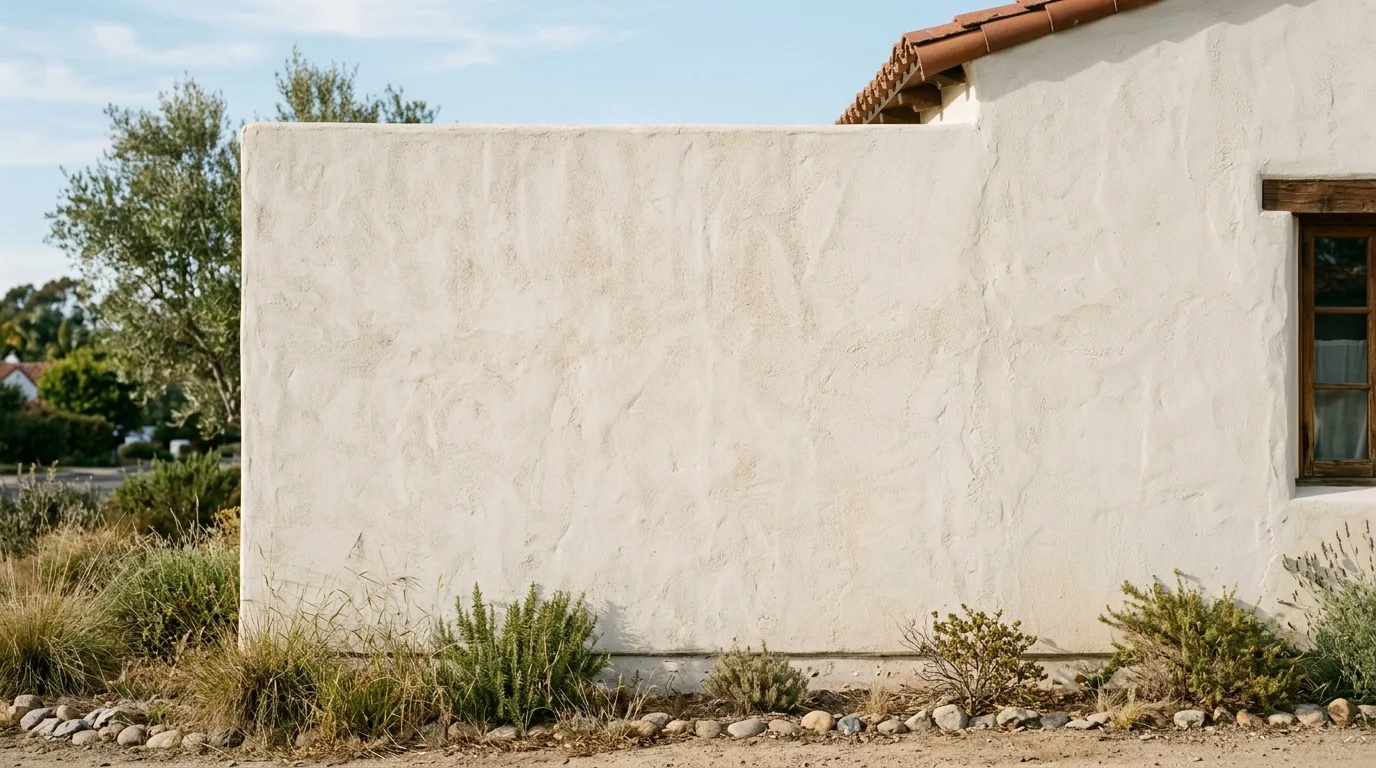
What uneven color looks like after the wall dries
Start by describing the pattern, not guessing its cause. “The wall looks bad” gives a contractor little to investigate. A simple map of the affected area creates a better starting point.
Stand far enough away to see the entire elevation. Note whether the difference appears as broad panels, narrow bands, isolated spots, or clear edges. Look for transitions around windows, doors, corners, vents, and previous repair areas. Record whether each boundary follows a visible change in texture.
Then inspect the wall from several positions. Check it straight on and from both sides. Repeat your observations without changing or touching the surface. A mismatch that stays visible from every position should be documented differently from one that appears only from a narrow angle.
Use plain descriptions in your notes:
- The upper section looks lighter than the lower section.
- A rectangular area appears darker than the surrounding wall.
- The shade changes where the texture becomes smoother.
- Separate elevations don’t appear to match.
- The difference is visible only under one viewing condition.
Photograph a full elevation before taking close-ups. Keep the wall centered and avoid filters or automatic edits. Include stable reference points, such as a window or corner, so everyone can identify the same area later.
Don’t label the condition a confirmed application defect from appearance alone. The visible pattern is evidence, but it doesn’t establish the reason. A licensed contractor can compare that pattern with the work area, materials, and written project records.
If the concern involves a recently completed color finish coat, ask the contractor to review the entire elevation. A small close-up may miss the larger pattern that explains what you’re seeing.
How the existing surface can affect the finished appearance
An older wall may contain patches, repairs, filled cracks, or adjoining sections from separate projects. When a new stucco color mismatch follows those boundaries, mark them before anyone changes the wall again.
Begin with the history you can verify. Gather invoices, proposals, photographs, and product labels from earlier work. If you don’t know what was applied before, say that plainly. Don’t identify a hidden material by appearance alone.
Compare the uneven areas with visible features. Does a darker rectangle match a known patch? Does a band follow an addition or closed opening? Does the change begin where new stucco meets an older wall? Those alignments are useful clues, but they aren’t proof of the underlying cause.
A contractor reviewing the wall should be able to explain what was inspected. Ask whether the evaluation included repaired areas, adjoining materials, and the condition beneath the finish. If a corrective proposal calls for another coat, request a written explanation of why that scope fits the observed pattern.
Color alone can’t tell you whether an old repair was prepared correctly. It also can’t confirm what products were used beneath the visible finish. The practical next step is to match the discoloration map with documented work boundaries.
This matters across San Diego County’s varied housing areas. A home in Encinitas, City Heights, El Cajon, or Chula Vista may have a different repair history. Record the property’s actual conditions instead of relying on a countywide assumption.
Our guide to whether a color coat can hide stucco patches explains why concealment and correction are separate decisions. If old and new areas also have different surfaces, a contractor may need to assess texture matching as part of the review.
Why texture changes how the same color reads
Color and texture should be evaluated together. If one section appears different, compare its surface pattern with the surrounding finish before focusing only on shade.
Take close photographs from the same distance. Keep the wall position and camera angle consistent. Capture the transition line, not just the darkest or lightest spot. This makes it easier to see whether a color boundary also follows a texture boundary.
Run your eyes across the wall without touching it. Note visible differences in grain, ridges, flattened areas, or tool marks. Don’t assign a finish name unless the project documents identify it. Terms used in conversation may not match the product or texture listed in the contract.
Ask the contractor to compare both features during the inspection:
- Does the visible shade change follow a texture transition?
- Is the pattern limited to a repaired section?
- Are separate walls being compared under the same conditions?
- Does the approved sample show the same texture as the completed work?
- Which written product instructions apply to the installed finish?
This review helps separate two possible scopes. One proposal may address color continuity. Another may address both color and texture continuity. Neither should be assumed correct before the wall is inspected and the installed materials are identified.
Don’t approve a broad correction based only on a tightly cropped photo. The full wall, adjoining elevations, and transitions around openings provide necessary context. Likewise, don’t dismiss a clear mismatch because it looks smaller in one picture.
For a closer look at finish choices, see our comparison of acrylic and cement stucco finishes. Use the project’s actual product records when deciding which information applies to your wall.
When more drying time may change the evaluation
A homeowner often hears that an uneven finish only needs more time. That statement needs support from the instructions for the product actually used. No universal waiting period for this situation has been confirmed in the approved sources for this site.
Ask the contractor for the exact product name and written manufacturer instructions. Request the relevant section that covers evaluation after application. If several products were used, identify which instructions apply to each one.
Don’t replace that information with an online rule of thumb. A time estimate from an unrelated product, climate, or wall system may not apply to your project. The contractor should connect any requested waiting period to written product guidance and the completed work.
While waiting under that guidance, keep a simple observation log. Photograph the same full elevation from the same location. Record the date, time, wall orientation, and viewing position. Don’t use filters, enhanced contrast, or edited color settings.
San Diego County observations should also identify the property location. Coastal North County, central San Diego, East County, and the South Bay aren’t interchangeable settings. Naming the actual community gives the contractor useful context without claiming that location caused the mismatch.
Avoid repeated changes during the observation period. Cleaning, coating, patching, or testing several areas can make later comparisons harder. If the contractor proposes a test area, get its location, material, and purpose in writing first.
More time shouldn’t become an open-ended answer. Ask for a specific follow-up date based on the applicable instructions. At that review, compare the new photographs with the originals. If the contractor can’t identify supporting product guidance, record that gap before authorizing corrective work.
What to document before approving corrective work
Corrective work should begin with a clear record of the existing condition. That record protects the evaluation from becoming a debate about memory, lighting, or where the mismatch first appeared.
Create a folder containing full-wall photographs, close-ups, contracts, invoices, finish selections, samples, and available product labels. Add a simple sketch of each elevation. Mark every light area, dark area, texture change, patch, corner, and opening.
Request a written assessment from the contractor. It should identify what was inspected, which materials were confirmed, and what remains unknown. Ask the contractor to separate observations from conclusions. “A darker band appears beneath the window” is an observation. A stated cause should explain the evidence behind it.
Before approving another coat or a larger rework, ask these questions:
- What exact area will receive corrective work?
- Will the correction address color, texture, or both?
- Which product will be applied?
- What written instructions govern that product?
- Will a sample area be reviewed before the full scope proceeds?
- How will adjoining walls and corners be handled?
- What outcome is being proposed, and how will it be evaluated?
- What contract terms apply if the result remains uneven?
Don’t assume another coat will solve every mismatch. The proposal should explain why the recommended work fits this wall’s documented condition. It should also state any limits or unresolved questions.
If a sample is proposed, identify its boundaries in writing. Photograph it before and after the work. Review it from the same positions used for the original wall. Don’t rely on a loose sample that doesn’t reproduce the wall’s actual texture.
For significant corrective work, confirm the contractor’s current status through the official CSLB license check. Stucco Pro SD matches homeowners with licensed, independent local pros, but performs no physical work itself.
Keep every approval in writing. A clear scope is especially useful when the concern includes both shade and surface differences. Our texture matching service page explains how we connect homeowners with local contractors for that review.
When to call us
Call when an uneven finish remains visible, crosses several wall sections, or may require corrective stucco work. A licensed pro can inspect the documented condition and explain the proposed scope.
Call us at (858) 400-4352 and we’ll connect you with a licensed local stucco contractor.